Set up your wallet
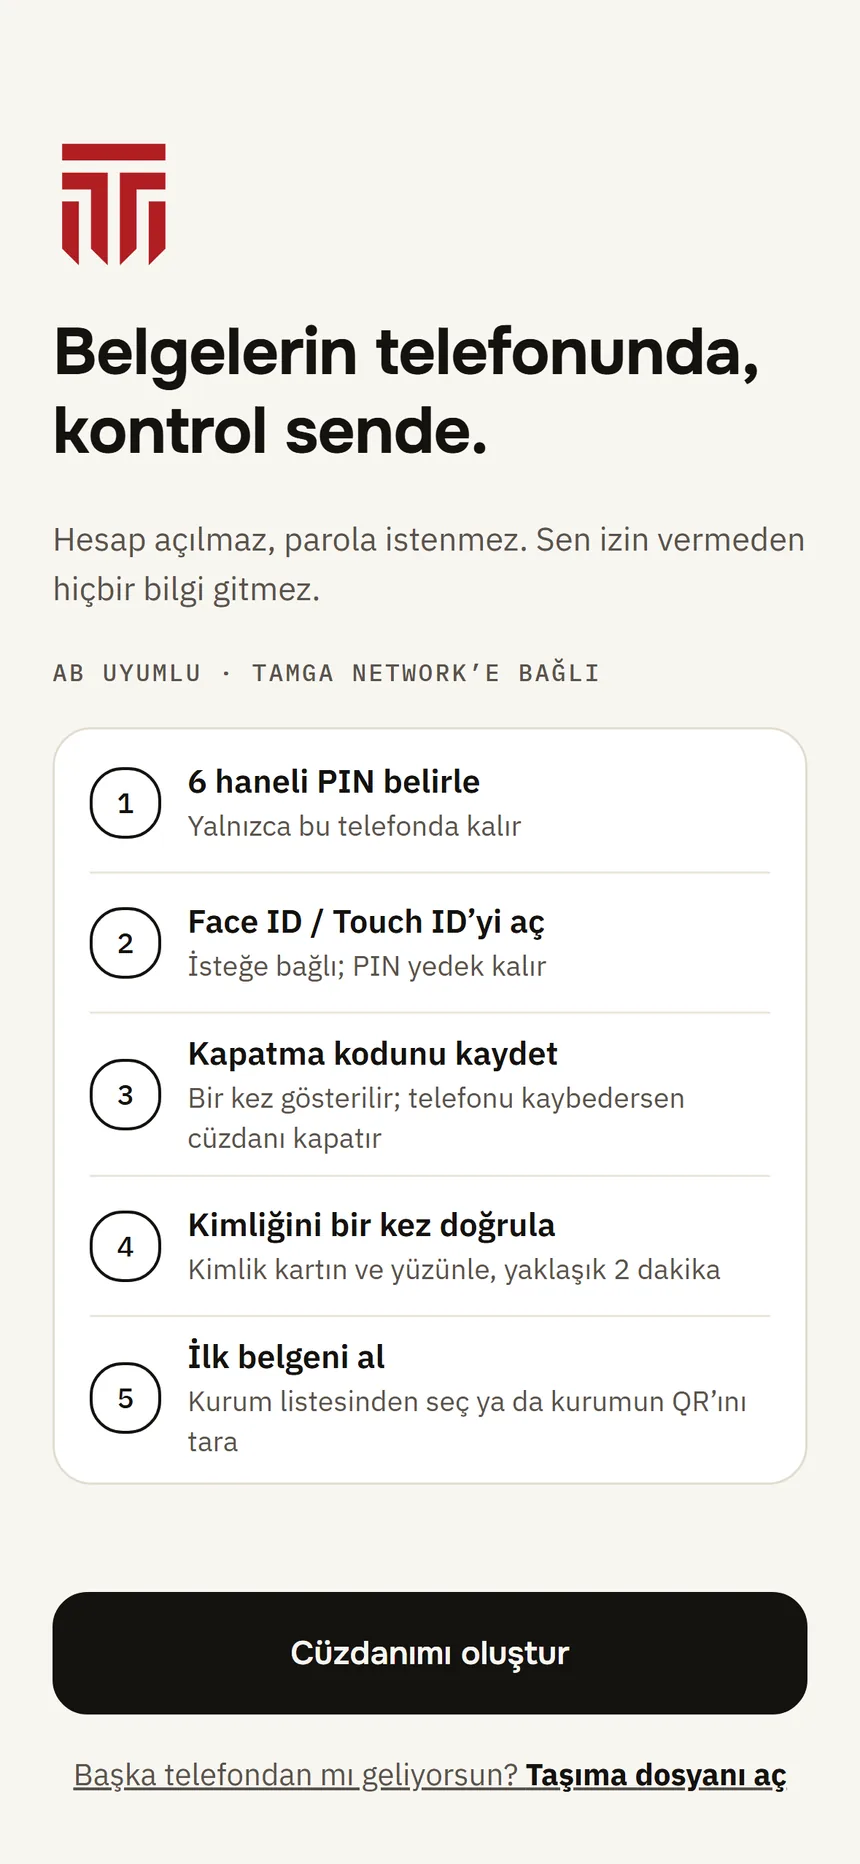
On first launch a five-step setup greets you: PIN, Face ID / Touch ID, revocation code, identity verification and your first credential.
Topics in this guide
Before you start
- Tamga Wallet is installed on your phone.
- Your phone has a screen lock.
Steps
Step 1: Tap Start
The welcome screen lists the five setup steps: 6-digit PIN, Face ID / Touch ID, revocation code, identity verification and your first credential.
Setup Step 2: Read the introduction or skip it
Three short pages explain what the wallet does. Move on with Continue or tap Skip; at the end tap Create my wallet.
Step 3: Choose a 6-digit PIN
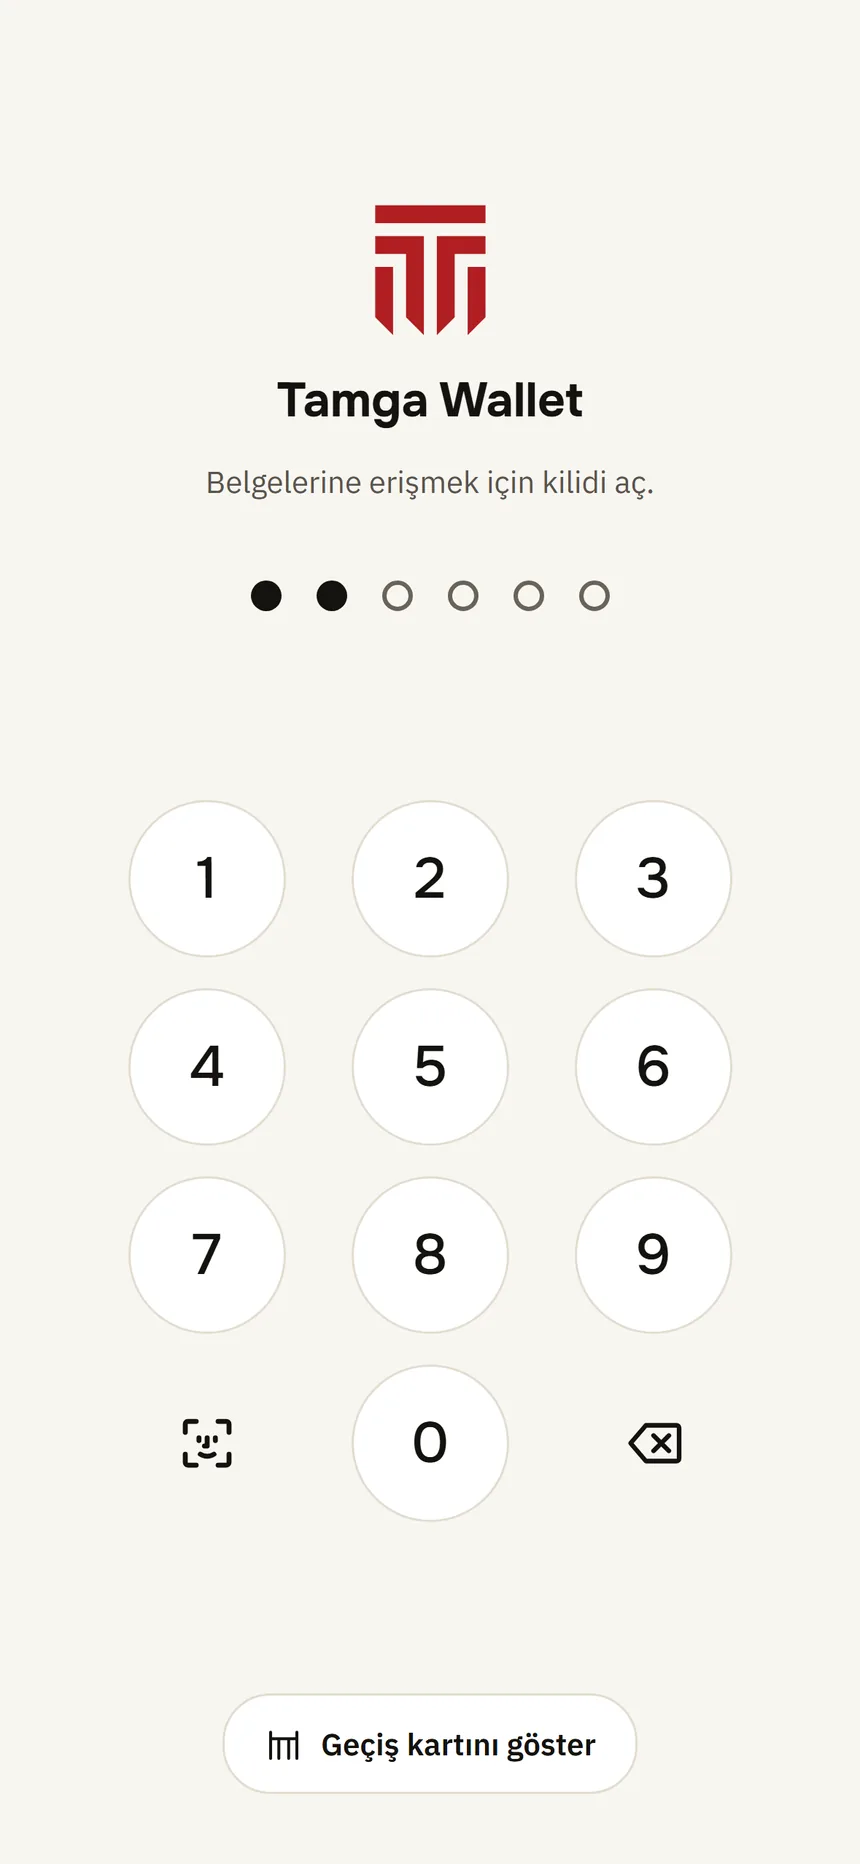
Enter 6 digits, then type the same PIN on “Enter the PIN again”. Repeated digits (like 111111), sequences (like 123456) and easy patterns are not accepted.
Lock and PIN Step 4: Turn on Face ID / Touch ID, or leave it for later
Turn on Face ID / Touch ID or Not now. Details: Turn on Face ID / Touch ID.
Step 5: Save your revocation code
The code is shown only once; write it down and tap I saved it. Details: Save your revocation code.
Step 6: Verify your identity
Tap Start to do it now or Not now; you can start it later from the home screen. Details: Verify your identity.
Good to know
- The PIN stays on this phone and never goes to a server. Tamga does not know your PIN and cannot recover it.
- You can change it later in Settings → Security → Change PIN; your current PIN is asked first.
- After 5 wrong PINs in a row the app makes you wait: 30 seconds, then 1 minute, 2 minutes… up to 1 hour. Closing and reopening the app does not reset the wait.
- Identity verification and the revocation code, if skipped, wait for you as cards on the home screen.
Related guides
- Turn on Face ID / Touch IDYou open the wallet with your face or fingerprint instead of the PIN; the PIN always stays as a backup.
- Save your revocation codeThe revocation code lets you close your wallet from any browser if you lose your phone. It is shown only once.
- Verify your identityYou verify once remotely with your ID card or passport and your face; the result is an identity credential on your phone that institutions recognise you by.