Show a credential on a website
The website shows a QR code; you scan it with Scan, see who is asking for what and why, and approve only those fields.
Topics in this guide
Before you start
- The requested credential is in your wallet.
- An internet connection.
- A screen lock is set on your phone.
Steps
Step 1: On the website, choose to verify with a credential
The site shows a QR code. If you are using the site on the same phone, its button can open Tamga Wallet directly.
Step 2: Scan the QR code with Scan
The wallet fetches the request and opens the approval screen.
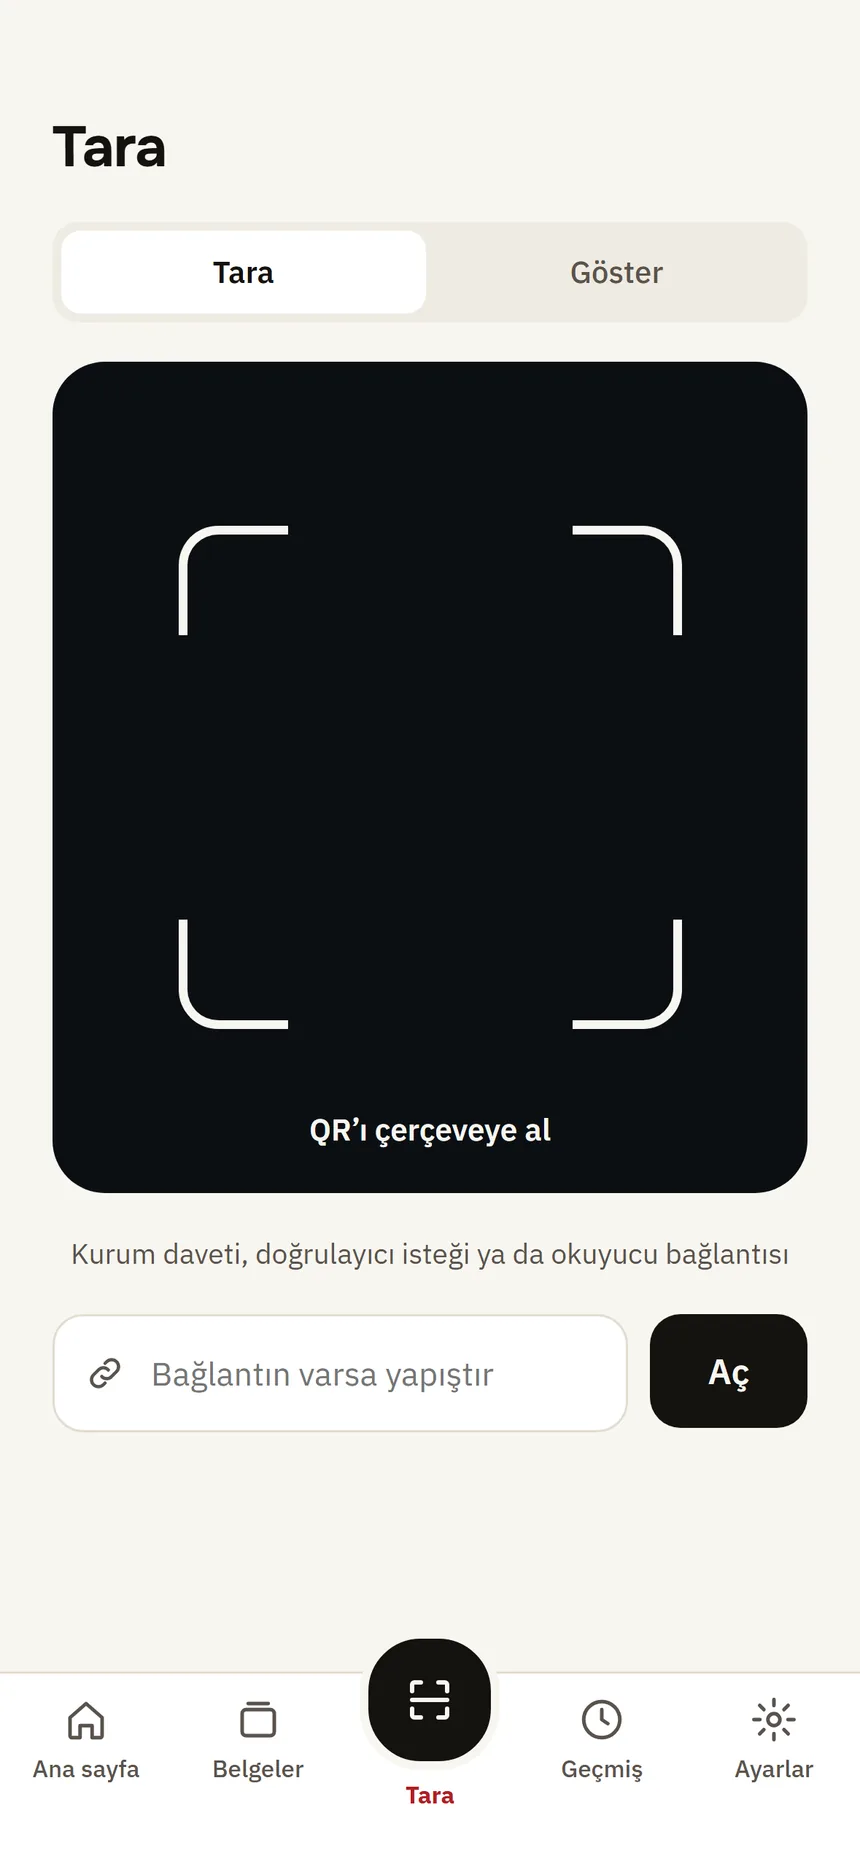
Scan Step 3: Read the approval screen
Who is asking and whether they are in the Tamga trusted list, the purpose, the privacy policy and the list “These fields will be shared — nothing else leaves”.
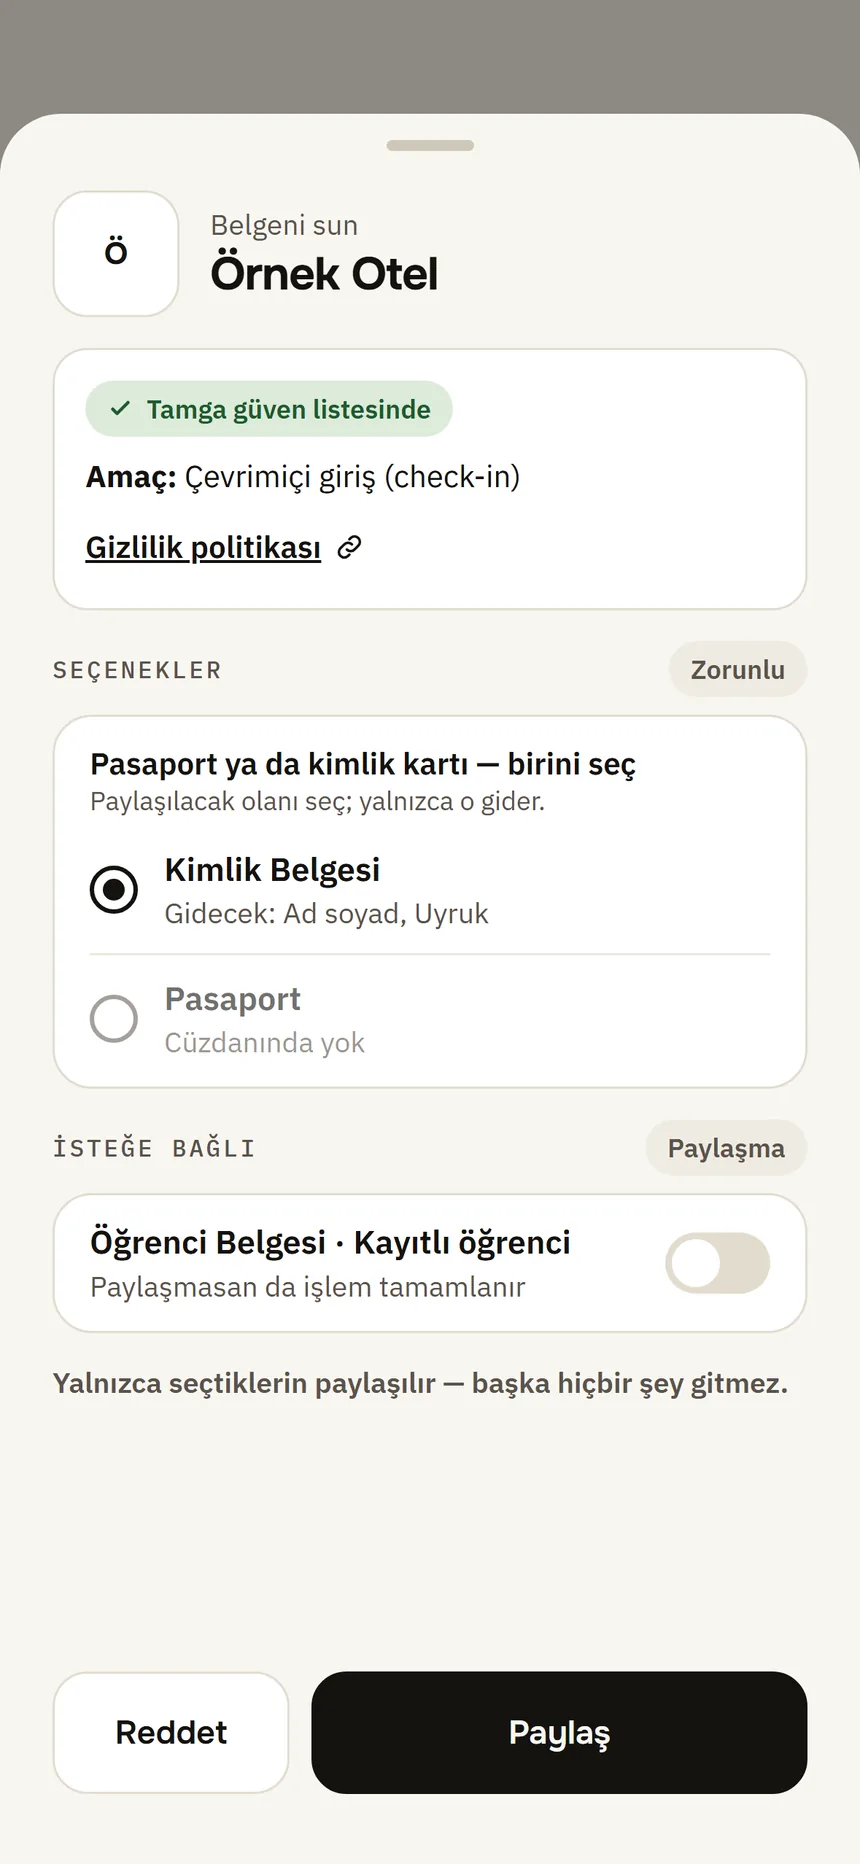
Share approval Step 4: If you have more than one, choose a credential
“You have … credentials of this type. Choose the one to share.”
Step 5: Tap Share and confirm with your phone's lock
If you do not want to share, tap Decline; nothing is sent.
Step 6: “Shared”
The screen lists the names of the fields that were sent. You see the result on the website; close with Done.
Good to know
- The same website always gets the same copy and different websites get different copies, so websites cannot link you.
- Every presentation (including declined ones) is written to History; the log stays on this phone only.
- If you run out of copies, “No copies left for new verifiers” appears: refresh the copies or tap Reuse an old copy (with a linkability warning).
- Every presentation asks for approval with your phone's lock (Face ID / Touch ID or the phone passcode), whatever the auto-lock setting is; the app's PIN is not used to approve sharing.
Related guides
- Requests with options, and missing informationSome websites ask for one of several options or for optional information; you choose what is sent. If they ask for something your credential does not have, nothing is sent.
- Unregistered verifier and excessive request warningsIf the requester is not in the Tamga trusted list, or asks for more than its registered permission, the wallet shows a red warning; you do not have to share.
- Check your activity historyThe History tab lists who you showed which fields to and when, and which credentials you received; the log stays on this phone only.