Get a credential with the institution's QR code
The institution shows you a QR code and a 6-digit one-time code on a screen or in an email; you scan the QR code with Scan and enter the code.
Topics in this guide
Before you start
- The QR code (or link) and the code the institution shows you.
- An internet connection.
Steps
Step 1: Tap the Scan button in the middle
The first time, camera permission is asked: Allow.
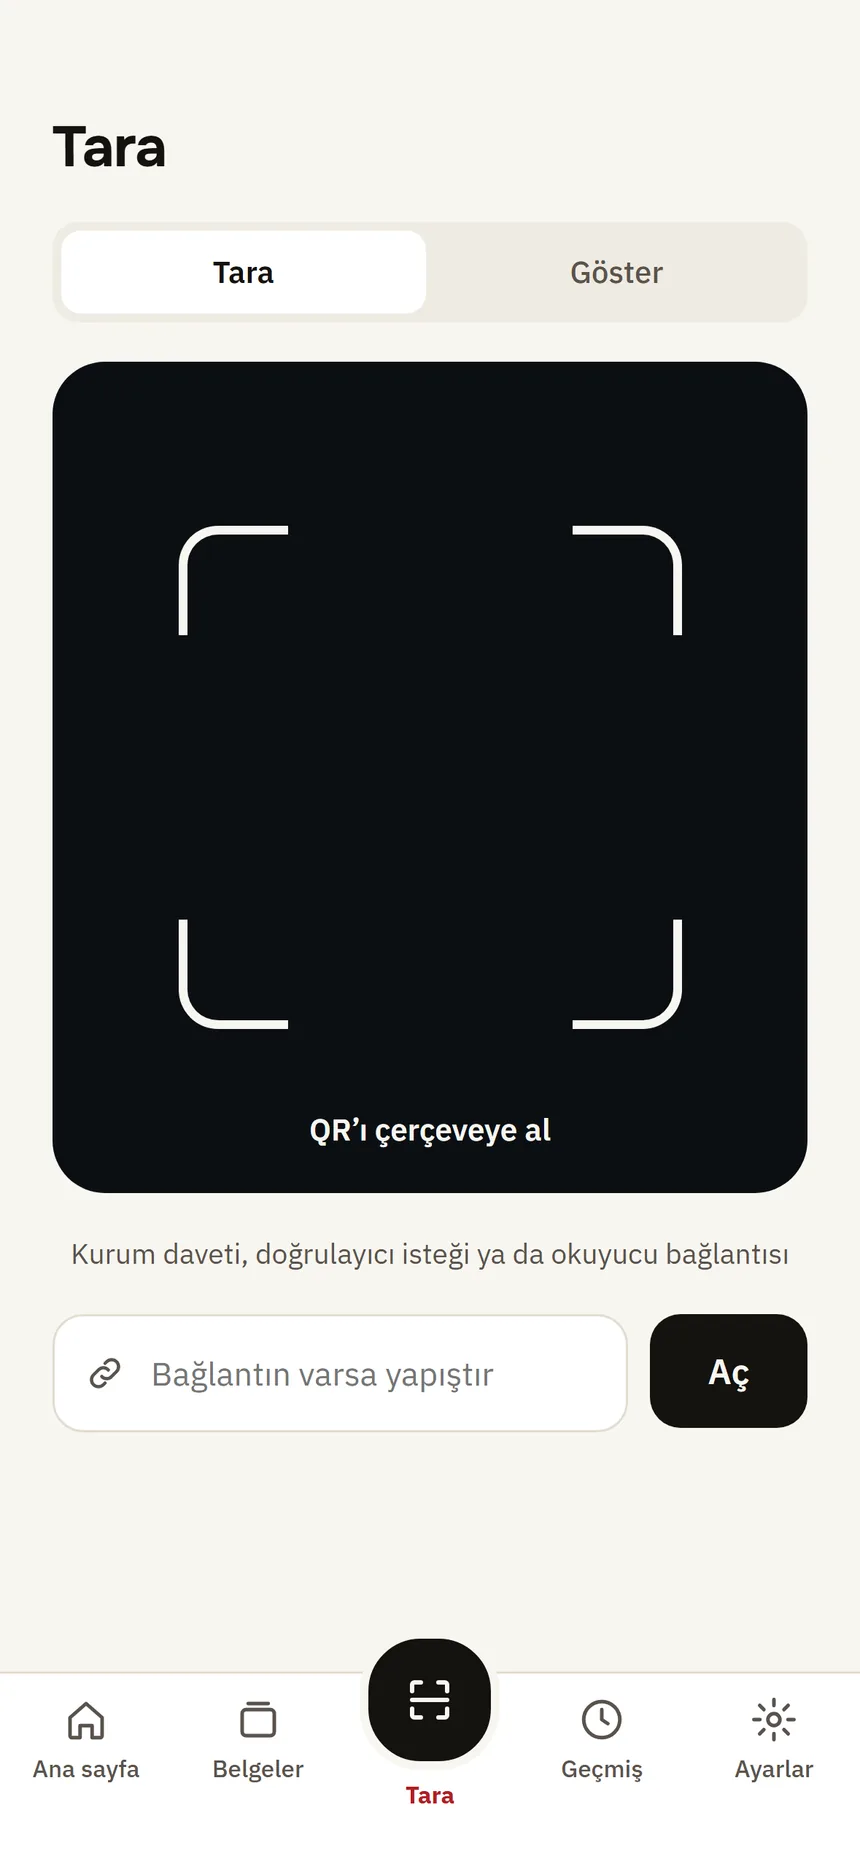
Scan Step 2: Fit the QR code in the frame
The wallet reads the offer by itself. If you have a link instead of a QR code, use “Have a link? Paste it”.
Step 3: “Enter the code from the institution”
Type the 6-digit code the institution showed you. The card at the top shows which credential the offer is for and who is issuing it.
Step 4: Credential added
The wallet creates the keys on the phone and receives the credential's copies; then “Credential added” appears.
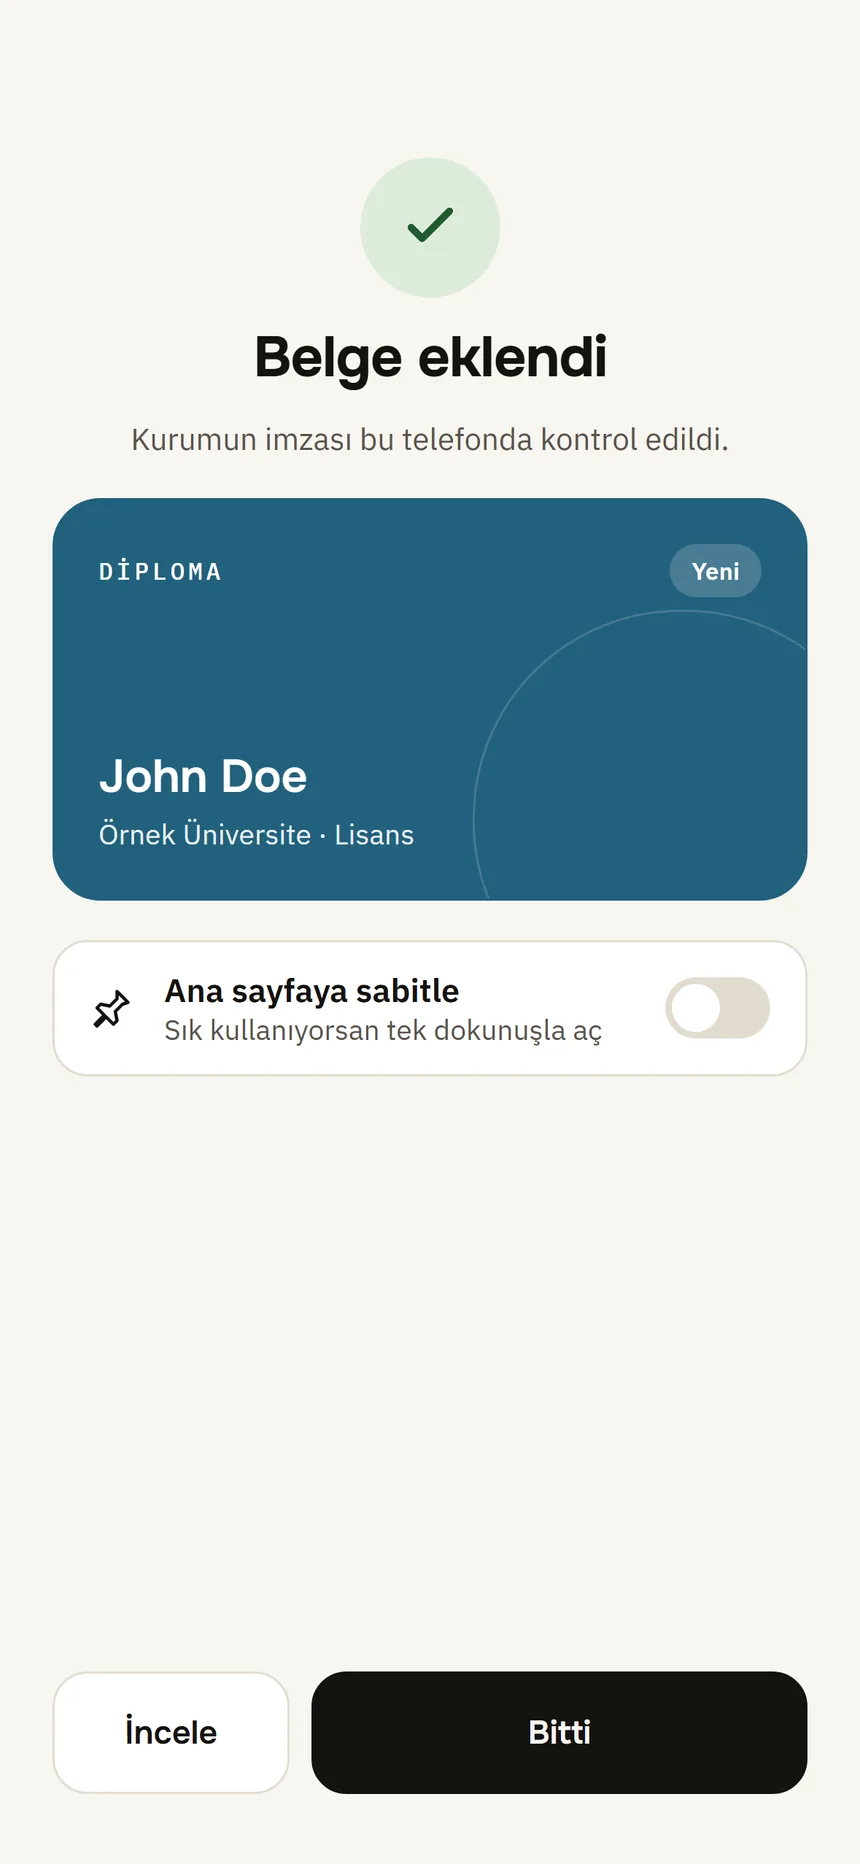
Document received
Good to know
- An offer is single-use and is cancelled after 3 wrong attempts; then ask the institution for a new one.
- If you see “This offer was already used.” and it was not you, tell the institution.
- Some offers are tied to a person: the app says “Verify your identity first”. Verify your identity, then scan the QR code again.
- The wallet checks whether the institution is in the Tamga trusted list; if not, it says “This institution is not in the Tamga trusted list.” and does not take the credential.