Add a verified email or phone number
You prove your email address or phone number with a one-time code; websites can ask for this credential instead of sending their own codes.
Topics in this guide
Before you start
- Access to your email or phone (SMS) at that moment.
- An internet connection.
Steps
Step 1: Documents → + → Add a verified email or Add a verified phone number
The same screen also opens from Settings → Documents → Add verified email / phone.
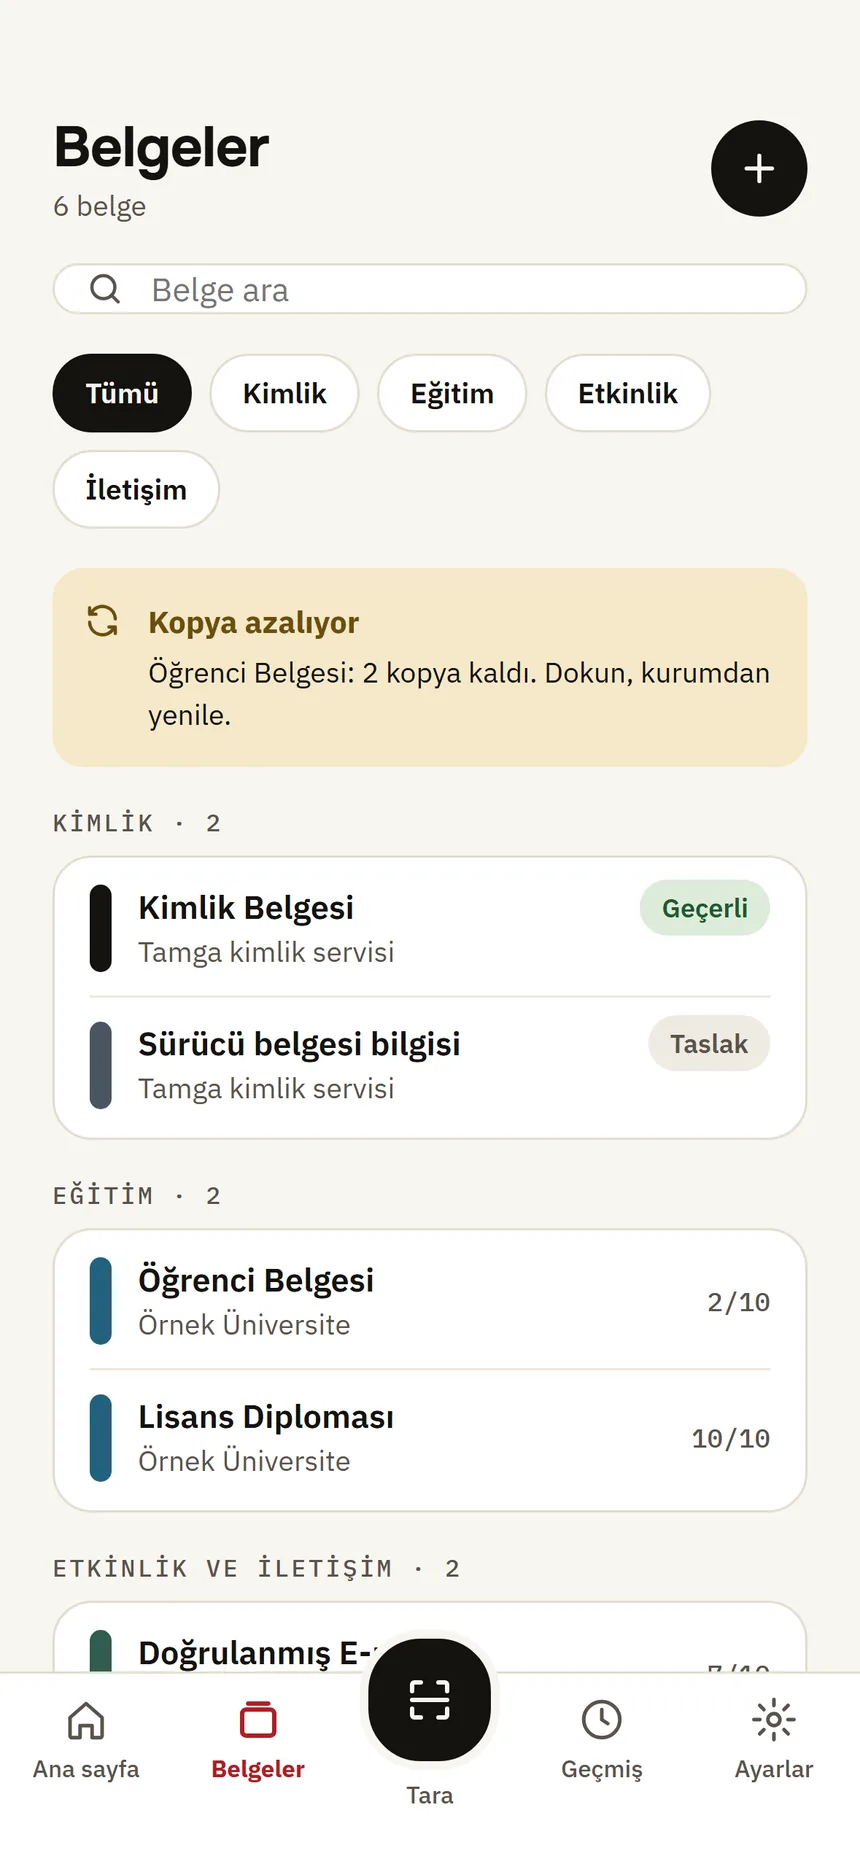
Documents Step 2: Choose Email or Phone at the top and tap Open in browser
The sample card shows how the credential will look; the address on it is a sample.
Step 3: Enter your address or number
Type it on the Tamga page that opens. The app does not see your address.
Step 4: Enter the 6-digit code on the same page
For email the code goes to your address; for a phone number it comes by SMS.
Step 5: The credential lands in your wallet
“Credential added” appears.
Good to know
- You can add more than one address.
- Tamga does not keep the address; it lives only in your wallet.
- Contact credentials are not refreshed automatically; you refresh them yourself.